
Input settings
The ventilation unit has three inputs: one analog input and two digital inputs. You can assign different functions to each input according to the table below. The digital controls can be implemented by a push button or rocker switch. Both digital inputs recognise the switch type automatically.
Potential uses of the analog and digital inputs include a request to boost ventilation from the cooker hood/central vacuum system or a button for activating the Custom mode next to the fireplace.
The push button functions are activated whenever the push button is released. To cancel a push button function, press the button for five seconds. The rocker switch function is triggered by the switch position. When the switch is turned to ON, the function is activated. When the switch is turned to OFF, the function is deactivated. You can cancel the rocker switch function by pressing the switch for five seconds.
When you turn the rocker switch to ON for the first time, the function is activated after a five-second delay. After the first time, the function is activated immediately.
The rocker switch can also be used to activate a push button function. To do this, turn the switch to ON for less than five seconds. To cancel the push button function, turn the rocker switch to the ON position for more than five seconds.
The mode selected last from any user interface stays active.
You can make changes to the three inputs in the Input settings menu.
To make changes to the ventilation unit’s analog input or digital inputs:
- Select Settings.

- Select Expert settings with the arrow buttons.
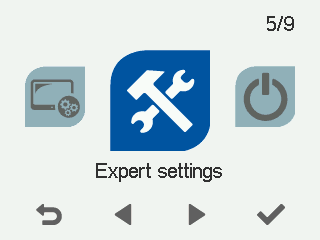
- Select OK.

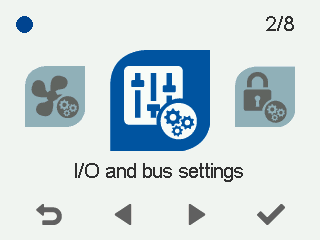
- Select I/O and bus settings with the arrow buttons.
- Select Input settings with the arrow buttons
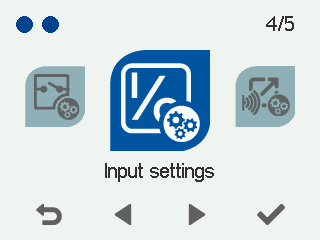
- Select OK.
The Input settings screen opens:
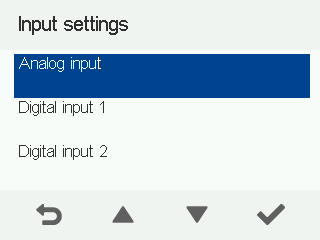
- Select an input by browsing the menu with the arrow buttons. Press OK at the input you want to select. The options are:
-
Analog input — Select an analog input function.
The options are given in the table below:
Table 1. Analog input functions Function Voltage rating Stop, Away, At Home, Boost, 0.1–1.0 V, 2–4 V, 5–7 V, 8–10 V — The remote monitoring system uses these voltage signals to control ventilation by changing the ventilation mode. Stop=0.1–1.0 V, Away= 2–4 V, At Home= 5–7 V, Boost= 8–10 V Supply air temperature control, 0–10 V = +5°C – +25°C — The remote monitoring system uses these voltage signals to control ventilation by adjusting the supply air temperature. 0–10 V = +5°C – +25°C -
Digital input 1/Digital input 2 — Assign a function for digital input 1 or 2.
The options are given in the table below:
Table 2. Digital input control functions Function Rocker switch Push button 0 V 24 V 24 V pulse for less than 5 seconds Custom mode off/on
0V / 24V
Off On On for the set time At Home/Away
0V / 24V
Does not work in the Boost mode.
. Away Switches the mode between At Home and Away. Emergency stop / Normal operation
0V / 24V
Unit shuts down Normal operation - Boost off/on
0V / 24V
When the Boost mode is deactivated, the unit switches back to the previous ventilation mode.
Off On On for the set time. Normal operation / HR cell bypass
0V / 24V
Automatic Bypass Switches the bypass mode Week clock off/on
0V / 24V
Off On Switches the week clock mode Programmable input off/on
0V / 24V
Off On On for the set time
NOTE:Only one function per input can be active at a time.
-
- When you are done, select Back two times:
