Registering the ventilation unit in the MyVallox Cloud service
This section explains how to register the Vallox ventilation unit in the MyVallox Cloud service.
When the ventilation unit is connected to the MyVallox Cloud service, you can control ventilation remotely with a smartphone or tablet, for example. The unit software is updated automatically through the cloud service. To connect to the cloud service, the ventilation unit must be connected to the internet through LAN and registered for the cloud service. By registering the unit, you create a MyVallox Cloud account for yourself.
To register a Vallox ventilation unit with the MyVallox Cloud service:
- Connect one end of the network cable to the grey connector of the Vallox ventilation unit and the other end to the router’s LAN port (usually numbered 1,2,3,4). The LAN port must not be bridged, i.e. it must share private IP addresses (addresses that begin with 10.x.x.x, 172.x.x.x or 192.168.x.x).TIP:
If the ventilation unit rejects the IP address and it is not possible to connect the unit to the intranet, go to the router settings and make sure the DHCP server is on and it is sharing private IP addresses (addresses that begin with 10.x.x.x, 172.x.x.x or 192.168.x.x).
- Open the computer’s network settings by selecting . You can see a computer icon with the text Vallox and a series of numbers.OR
Select on the MyVallox Control control panel . Type in the IP address and press Enter.
- Open the MyVallox Home user interface by double-clicking on the icon.
- Select Special functions.

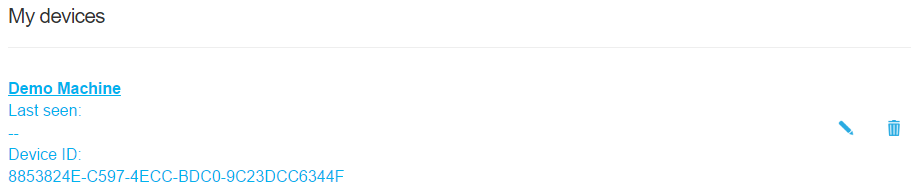
- Under Cloud service, you can see whether you are signed in to the MyVallox Cloud service.

- Select Connect.
- The registration page of the MyVallox Cloud service opens.The Ventilation unit ID, i.e. the unit’s unique identifier, is generated automatically in the field.
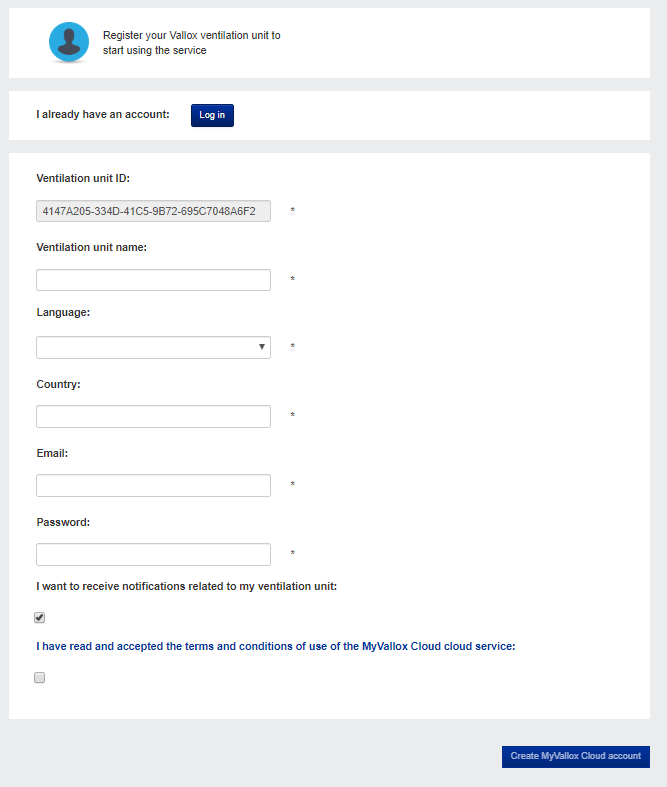
- Enter the following information in the form:
- Ventilation unit name — Enter the ventilation unit name of your choice in this field.
- Language — Select the desired language.
- Country — Select the desired country.
- Email — Enter your email address in this field. The email address is your username.
- Password — Enter the password of your choice in this field.
- Select the I want to receive notifications related to my ventilation unit box if you wish to receive notifications related to your ventilation unit.
- Select I have read and accepted the terms and conditions of use of the MyVallox Cloud cloud service and read the terms and conditions of use of the service. The use of the service requires that the user has accepted the terms and conditions.
- Select Create MyVallox Cloud account. The ventilation unit generates a unique identification code and sends it to the service. The service will remember the unit the next time you sign into the cloud service.
- A confirmation message will be sent to your email address. Click on the link in the message to confirm your email address and to sign in to the cloud service for the first time.
- Once you have signed in, the MyVallox Cloud service will open and the main page of the MyVallox Cloud account will appear in your browser.